Help Center Bookkeeping How to create an invoice on Tyms web application
An invoice is a financial document issued to a buyer containing details such as the quantities of goods or services purchased or patronized, the cost of purchase, the date, and in most cases, the payment terms. On Tyms, invoice can be easily generated and shared to customers to receive payments.
How to create an Invoice on Tyms
To create an invoice on Tyms, follow these steps:

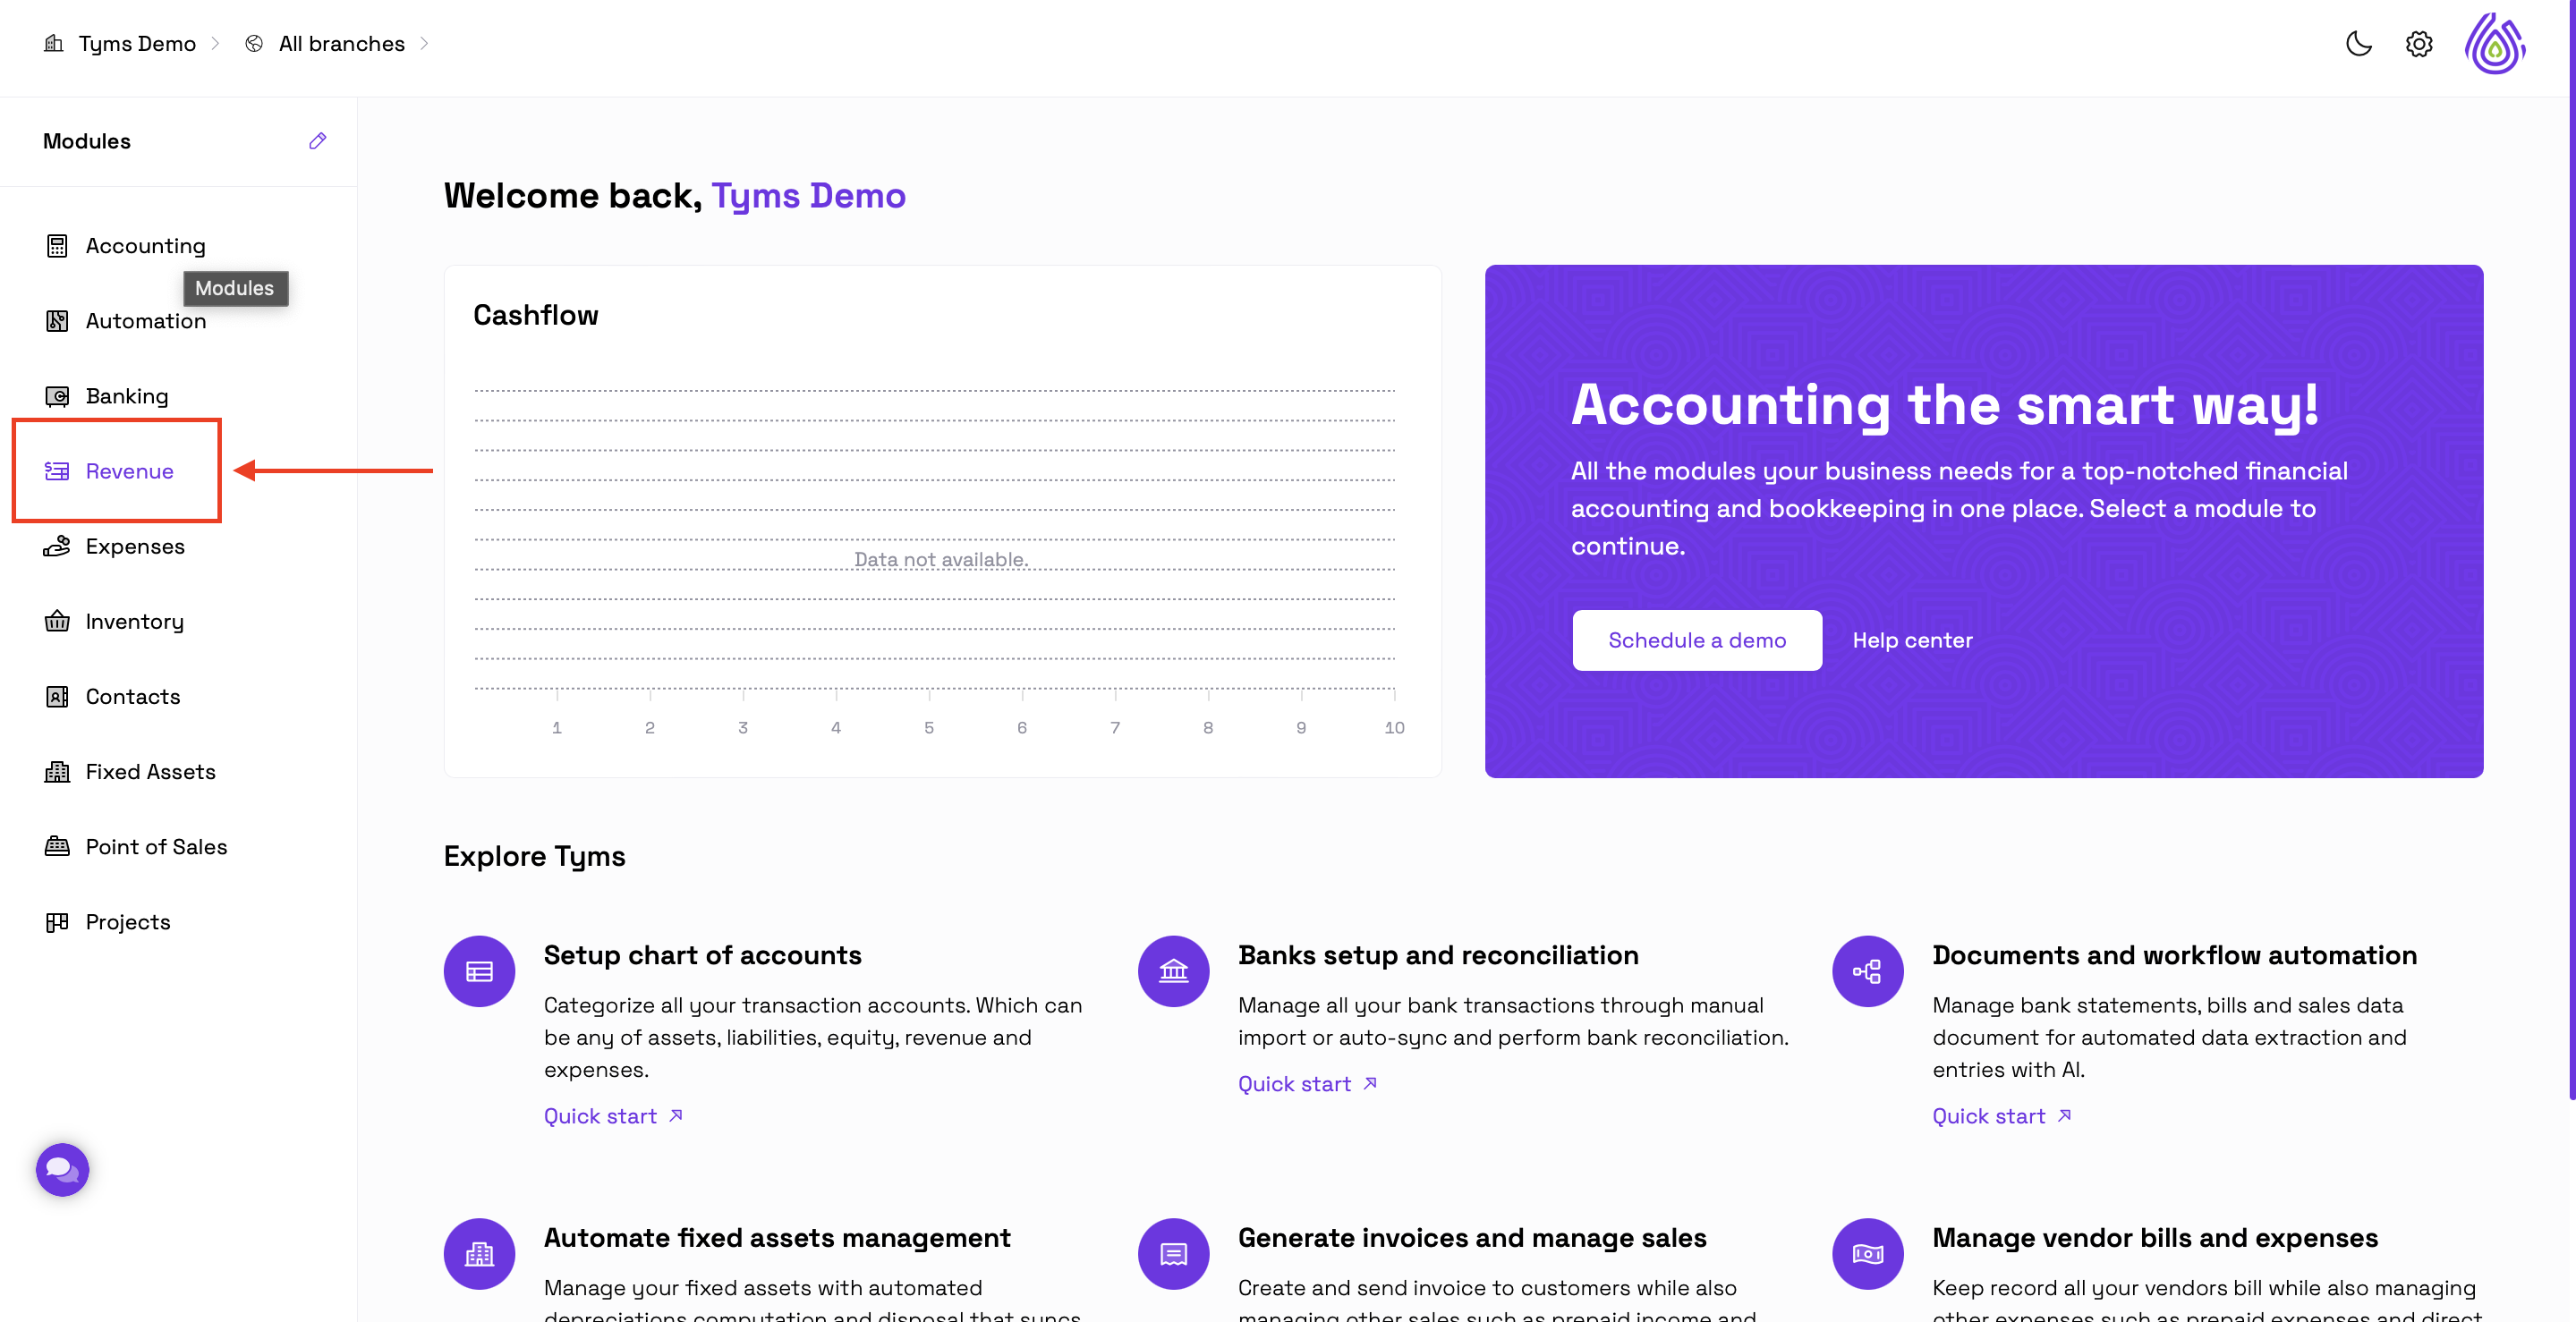
1. Log in to your Tyms account and navigate to the “Revenue" module.
2. Click on the “New” button.
3. Select “Invoice" and a form will be open to you.
4. Enter the following information on the invoice:
a. Title: Title of the invoice.
b. Currency: The currency in which this invoice would be created and recorded. If it is different from your default or base currency, you will be required to provide an exchange rate or use the one provided by the system in real-time.
c. Customer: The customer to whom this sale was performed, and to whom the invoice will be sent.
d. Date: The date of the record.
e. Due date: The expected due date of the payment.
f. Invoice no.: The document number of the invoice. Auto-populated by the system, but can be edited to your preferred number.
5. Select a revenue account.
6. You can check the box below the revenue account to split revenue to another account. This allows you to share the value of the total revenue amount between different accounts.
Check the box, enter the split percentage, and the second account.
7. Items on Tyms are products or services the business offers. To select already existing items for sale, click on the dropdown as shown above in the invoice. You can also enter a description for the item, the quantity of the item for sale, and the rate which is the selling price at that point of sale.
Click the “Add new item” button below to add another line item, and repeat the process above.
8. To add an entirely new item, click on the item dropdown and select “Add new item” and enter the details on the form.
9. Also, if you want to set various discounts, tax or account per line item, and not collectively, Go to step 4, and check the box that says “set discount, tax, account per item”.
10. Select the items and select the corresponding account, tax, and discount.
11. The following information can also be entered on the invoice:
a. Salesperson: This is the employee involved in the sale. Click the dropdown to select from your list of employees or create a new one.
b. Online payment: These are your payment gateways you’ve connected on your account on Tyms. Click on the dropdown and select the one through which you want the customer to make payments through. They can be set up for display on your invoice from Settings>Integrations>Paystack.
c. Payment terms: Notes for payment which would be displayed on the invoice.
d. Memo: Additional notes which would not be displayed on the invoice.
e. Discount: Select the dropdown to enter a percentage or amount discount off the total cost on the invoice. Enter the value by the side in the textbox.
f. Tax: Click on the dropdown and select from the taxes on your account or create a new tax. This will impact the invoice amount.
Note: 11e, and f will not be available for display if the box for setting discount, tax and account per items is checked.
g. Shipping fee: Enter the shipping fee if any, which will impact the total invoice amount.
h. Deposit: This is the initial amount paid at the point of purchase, or prior to this invoice. Can be empty if there has been no initial deposit.
i. Paid through: This is the method through which the deposit was paid through, could be cash or any of your various banks on Tyms.
12. You can select the relevant dropdowns to effectively categorize and spread invoice data:
a. Branch: Associate the invoice with a specific branch. Note that this option is only available if you're currently viewing “All Branches”; otherwise, the branch will be automatically populated.
b. Department: Select the department responsible for the invoice.
c. Project: Link the invoice to a specific project for easier tracking and analysis.
More information that can be added include:
d. Tags: You can create tags, and separate them with a comma (,).
e. Upload file: Upload a supporting document as an attachment on the invoice, and you can always re-visit it.
f. Check the box if you need to enable shipping information such as name, address, email, and phone number.
g. You can also add custom columns for more customization.
Click the “Save” button at the top right corner of the screen and choose from two options:
Save as Draft: This saves the invoice as a draft, allowing you to edit, adjust, or delete it before publishing. The draft invoice will not be reflected in your financial records.
Save as Published: This saves the invoice as a published document, updating your financial records accordingly.
The invoice details will be displayed on the sales table, and can be previewed by clicking the action button by the right hand side > preview.
Functions:
1. Creating invoices.
2. Splitting revenue amount into various accounts.
3. Setting discount, tax, account per item.
Share on:
Suggested Articles

